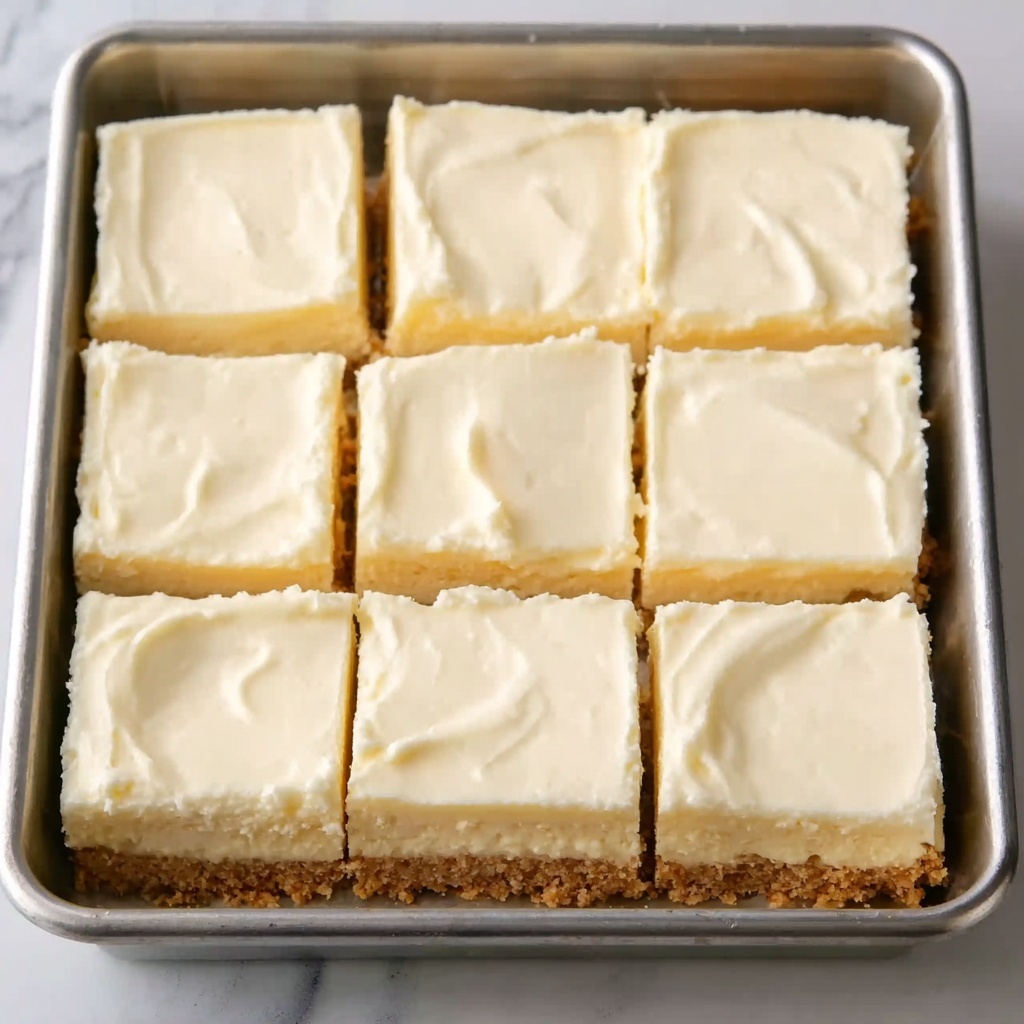
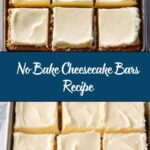
There is something truly magical about this No Bake Cheesecake Bars Recipe—it combines the creamy decadence of classic cheesecake with the ease of a no-bake method, resulting in a dessert that’s not only luscious but incredibly simple to prepare. Imagine a buttery graham cracker crust topped with a silky smooth, tangy cream cheese filling that sets perfectly in the fridge, offering you a delightful treat anytime without heating up the kitchen. Whether you’re throwing together a last-minute dessert or looking to impress friends with minimal effort, these bars are a guaranteed crowd-pleaser with every bite.
Ingredients You’ll Need
Gathering the ingredients for this recipe is delightfully straightforward. Each one plays a vital role—whether contributing to the rich texture, the balanced sweetness, or the subtle tang that keeps the dessert refreshing. With just a few pantry staples and simple fresh additions, you’ll be amazed at what you can create.
- Graham cracker crumbs (1 ½ cups): This forms the crunchy, buttery base that holds the bars together and adds a wonderful texture contrast.
- Melted butter (⅓ cup): Binds the crust ingredients and adds a rich, golden flavor that perfectly complements the creaminess above.
- Cream cheese, softened (2 cups): The heart of the cheesecake, creating the smooth and creamy filling that everyone loves.
- Powdered sugar (1 cup): Sweetens the filling effortlessly and dissolves completely for that velvety texture.
- Vanilla extract (1 teaspoon): Adds a warm, aromatic depth that rounds out all the sweet flavors.
- Heavy cream (1 ½ cups): Whipped to perfection, it lightens the filling, making it fluffy and airy without baking.
- Lemon juice (1 tablespoon): Offers a subtle, fresh tang that brightens the flavors and balances the sweetness.
- Fresh fruit compote (optional topping): Provides a colorful, natural sweetness that’s perfect for customizing and adding a burst of freshness on top.
How to Make No Bake Cheesecake Bars Recipe
Step 1: Prepare the Crust
Start by combining the graham cracker crumbs with melted butter in a medium bowl. Stir them together until the mixture resembles wet sand—that’s the perfect consistency to ensure your crust will hold together beautifully once set.
Step 2: Chill the Crust
Press this crumb mixture firmly into the bottom of an 8×8-inch baking pan lined with parchment paper. This step is crucial for creating a sturdy base. Refrigerate it while you prepare the filling so the crust can set properly.
Step 3: Make the Cream Cheese Filling
In a large bowl, beat the softened cream cheese until it’s completely smooth. Add powdered sugar and vanilla extract, mixing until the texture is silky and all the ingredients are well combined. This forms the rich and sweet foundation of your filling.
Step 4: Whip the Cream and Combine
In a separate bowl, whip the heavy cream until it forms stiff peaks—this will give your cheesecake bars their famously light and fluffy texture. Gently fold the whipped cream into the cream cheese mixture; this step needs a delicate hand to keep that airy feel without deflating the mixture.
Step 5: Add the Lemon Juice
Stir in the lemon juice until fully incorporated. This bright addition cuts through the richness and adds a delicious hint of tanginess, balancing the overall flavor perfectly.
Step 6: Assemble and Chill
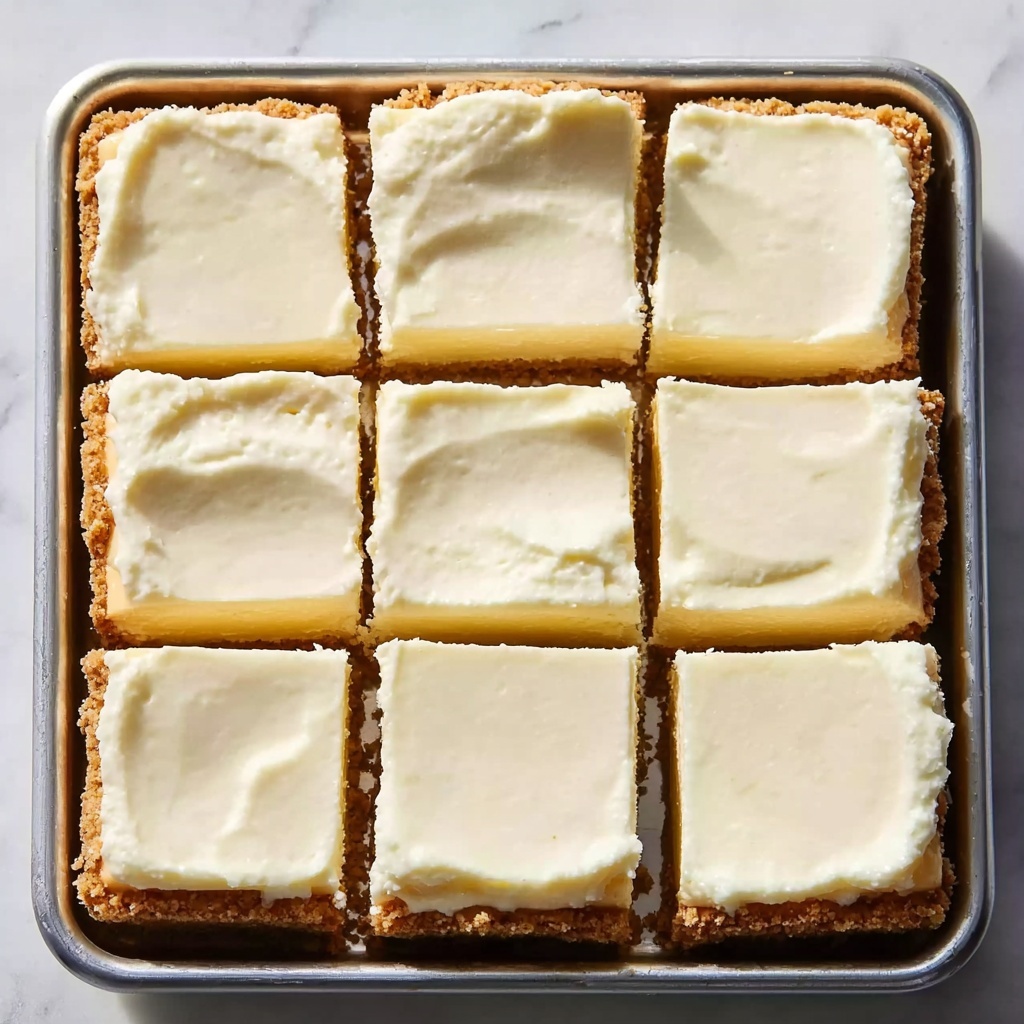
Pour the luscious cheesecake filling over your chilled crust and spread it out evenly to all edges. Cover the pan and refrigerate for at least 4 hours, or even better, overnight. This chilling time lets the bars firm up and develop that irresistible creamy firmness.
Step 7: Add Final Touches
Just before serving, top your cheesecake bars with fresh fruit compote or any other toppings you love. This final flourish not only adds flavor and texture but also turns these simple bars into an impressive dessert centerpiece.
How to Serve No Bake Cheesecake Bars Recipe

Garnishes
When it comes to garnishing your No Bake Cheesecake Bars Recipe, fresh fruit compote is an excellent choice. It brings brightness and a vivid splash of color to the creamy bars. You can also sprinkle crushed nuts, chocolate shavings, or a dusting of powdered sugar for an extra touch of elegance and texture.
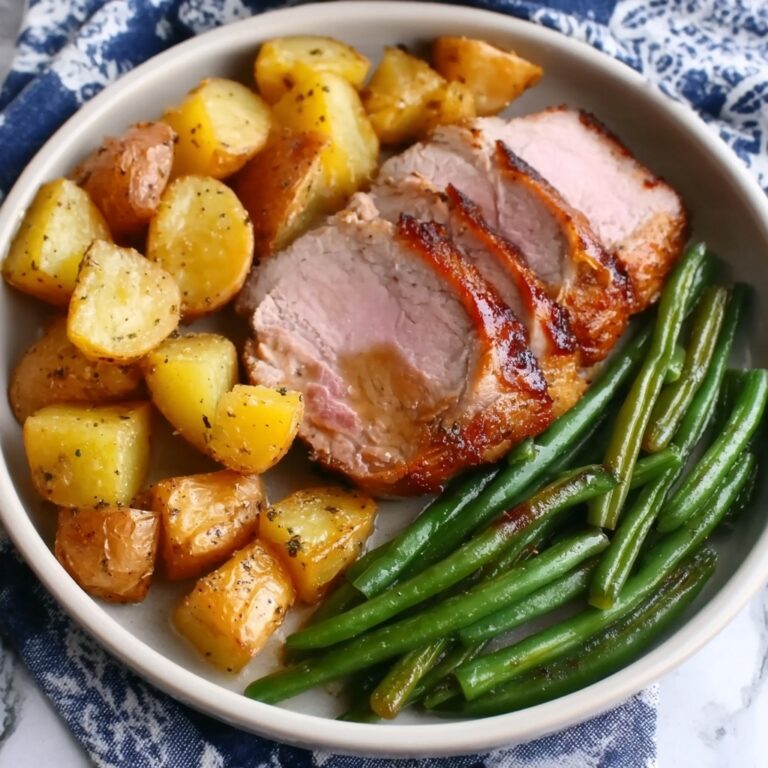
Side Dishes
These cheesecake bars pair wonderfully with light and refreshing sides like a bowl of mixed berries or a crisp green salad with a citrus vinaigrette. The contrast in flavors and textures makes the dessert feel even more special and well-rounded.
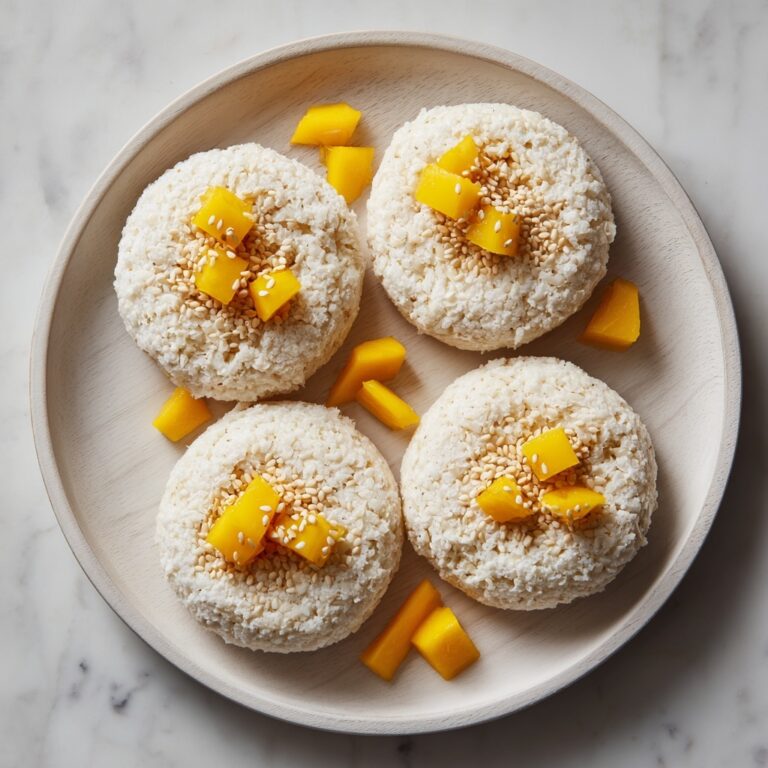
Creative Ways to Present
For a fun twist, serve individual bars in clear mini dessert cups layered with extra fruit and whipped cream. Or cut the bars into bite-sized squares and arrange them artfully on a dessert platter alongside a variety of fresh fruits and a drizzle of caramel or berry sauce to delight every guest.
Make Ahead and Storage
Storing Leftovers
These bars keep really well when stored in an airtight container in the refrigerator for up to 5 days. This makes them perfect for advance preparation or simply enjoying delicious leftovers without any loss of flavor or texture.
Freezing
You can freeze No Bake Cheesecake Bars Recipe for up to 2 months. Wrap the bars tightly in plastic wrap and place them in a freezer-safe container to prevent freezer burn. When ready to enjoy, thaw them overnight in the fridge for the best texture.
Reheating
No reheating needed! These bars are designed to be enjoyed cold right from the refrigerator. If you prefer, you can let them sit at room temperature for 10–15 minutes before serving to soften slightly and enhance the creamy texture.
FAQs
Can I use a different crust for this No Bake Cheesecake Bars Recipe?
Absolutely! While graham cracker crust is classic, you can experiment with crushed digestive biscuits, Oreo crumbs, or even pretzel crumbs to add a unique flavor and texture to your bars.
Is it possible to make this recipe vegan?
Yes, with some ingredient swaps! Use vegan cream cheese and a plant-based heavy cream alternative, plus a dairy-free butter substitute for the crust. Keep in mind the texture might vary slightly, but it will still be delicious.
How long does it take for the bars to fully set in the fridge?
To achieve the ideal firm yet creamy texture, chilling for at least 4 hours is recommended, though overnight gives the best results.
Can I add flavors or mix-ins to the cheesecake filling?
Definitely! You can fold in chocolate chips, swirls of caramel, or even zest some citrus to add exciting flavors. Just be sure not to overload the filling so it still sets properly.
What is the best way to cut these bars cleanly?
For neat slices, chill the bars thoroughly, then use a sharp knife warmed slightly under hot water and wiped dry before each cut. This will help you achieve clean, beautiful edges every time.
Final Thoughts
There’s nothing quite like the joy of sharing homemade dessert with loved ones, and this No Bake Cheesecake Bars Recipe makes it easy to deliver a rich, creamy, and stunning sweet treat without all the fuss of baking. Whether you’re a cheesecake lover or a novice baker, these bars offer a simple yet elegant way to satisfy your sweet tooth. Give them a try—your fridge and your guests will thank you!
Print
No Bake Cheesecake Bars Recipe
- Prep Time: 15 minutes
- Cook Time: 0 minutes
- Total Time: 4 hours 15 minutes
- Yield: 9 servings
- Category: Dessert
- Method: No-Cook
- Cuisine: American
Description
These No Bake Cheesecake Bars are a delicious and creamy dessert that requires no oven time. A buttery graham cracker crust pairs perfectly with a smooth cream cheese filling whipped with heavy cream, lemon juice, and vanilla. Chilling the bars allows them to set into a rich, luscious treat perfect for any occasion, topped optionally with fresh fruit compote for added freshness and flavor.
Ingredients
Crust
- 1 ½ cups graham cracker crumbs
- ⅓ cup melted butter
Filling
- 2 cups cream cheese, softened
- 1 cup powdered sugar
- 1 teaspoon vanilla extract
- 1 ½ cups heavy cream
- 1 tablespoon lemon juice
Topping (optional)
- Fresh fruit compote
Instructions
- Prepare the crust: Combine the graham cracker crumbs and melted butter in a medium bowl, stirring until the mixture resembles wet sand.
- Press the crust: Press the graham cracker mixture firmly into the bottom of an 8×8-inch baking pan lined with parchment paper. Place the pan in the refrigerator to set while preparing the filling.
- Beat cream cheese: In a large bowl, beat the softened cream cheese until smooth and creamy using a mixer or whisk.
- Add sugar and vanilla: Mix powdered sugar and vanilla extract into the cream cheese until fully combined and smooth.
- Whip heavy cream: In a separate bowl, whip the heavy cream until stiff peaks form, ensuring it has a light and fluffy texture.
- Combine mixtures: Gently fold the whipped cream into the cream cheese mixture to keep it light, then add lemon juice and stir until fully combined.
- Assemble cheesecake: Pour the cheesecake filling evenly over the chilled graham cracker crust and spread it smoothly with a spatula.
- Chill to set: Refrigerate the cheesecake bars for at least 4 hours or overnight to allow them to set properly.
- Serve: Before serving, optionally top with fresh fruit compote or any preferred toppings for added flavor and presentation.
Notes
- Ensure the cream cheese is softened to room temperature for a smooth filling without lumps.
- Press the crust firmly to create a solid base that holds together well.
- Do not overwhip the cream; whip just to stiff peaks for the best texture.
- Chill time is essential to let the cheesecake bars fully set and firm up for easy slicing.
- Fresh fruit compote or berries make a great topping to add brightness and a complementary flavor.

