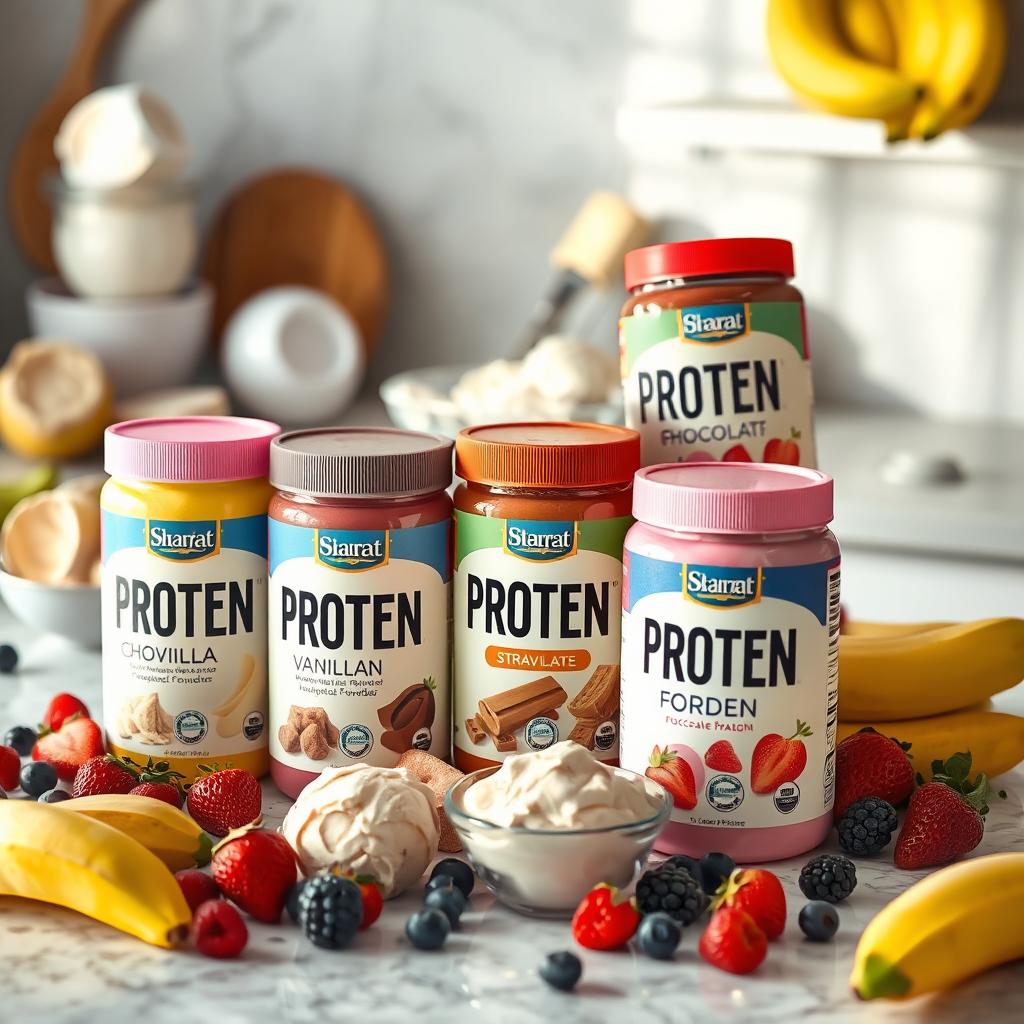
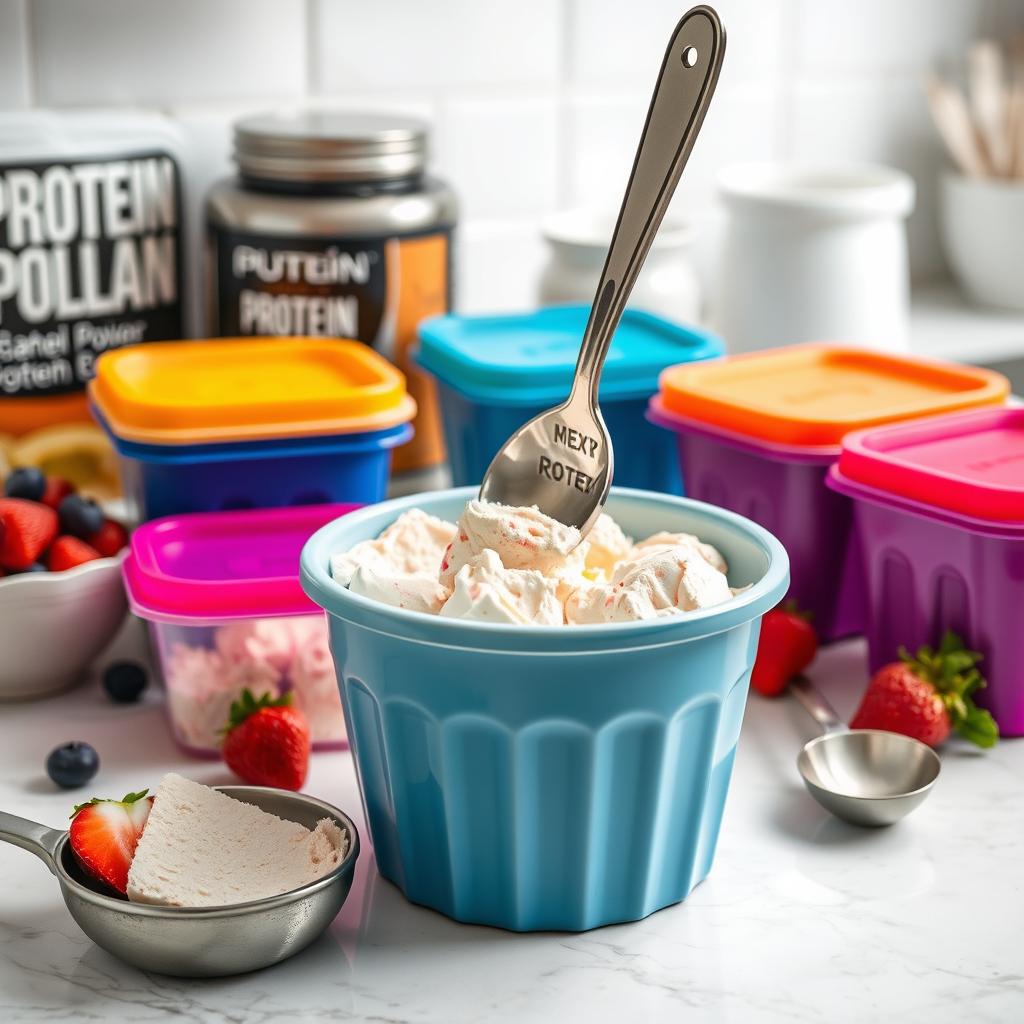
I’m always searching for healthy treats that taste great. That’s why I’m excited to share a simple, high-protein ice cream recipe. It’s creamy, delicious, and has over 15 grams of protein per serving. This makes it a guilt-free dessert that’s also great after working out.
This protein powder ice cream is a must-try for anyone who loves ice cream. It’s easy to make with just a few ingredients. You’ll get a creamy, high-protein treat that’s perfect for satisfying your cravings and supporting your health and fitness goals. Get ready to enjoy a healthy dessert that will quickly become a favorite!
Table of Contents
What is Protein Powder Ice Cream ?
Protein powder ice cream is a tasty frozen treat. It mixes the creamy feel of ice cream with protein’s health benefits. You can use whey, casein, or plant-based proteins. This way, you can enjoy a yummy dessert that also helps you reach your fitness goals.
Understanding Protein Powder
Protein powders are dietary supplements full of amino acids. These acids are key for building muscle. Whey, casein, and vegan proteins, like soy or pea, each have their own health perks.
- Whey protein is fast to absorb, great for muscle recovery and growth.
- Casein protein takes longer to digest, helping you stay full longer.
- Vegan protein powders are for those who eat plant-based or avoid dairy.
Benefits of Using Protein Powder in Ice Cream
Adding protein powder to ice cream has many benefits:
- More Protein: A scoop of protein ice cream gives you a lot of quality protein, helping meet your daily needs.
- Muscle Growth: The protein in ice cream aids in muscle building and recovery, perfect for the active.
- Guilty Pleasure: Protein ice cream is a tasty way to enjoy a sweet treat while staying on track with your health goals.
“Protein Powder ice cream is a game-changer for fitness enthusiasts who want to enjoy a guilt-free dessert without sacrificing their nutritional needs.”
Why Make Homemade Ice Cream?
Homemade protein ice cream lets you control what goes into it. You can pick the flavors, nutrients, and ingredients that fit your diet. This way, you can make a protein-rich treat that’s just right for you.
Control Over Ingredients
With homemade Protein Powder Ice Cream, you decide what’s in it. You can skip the artificial stuff and too much sugar found in store-bought ice creams. Choose the protein powder, sweeteners, and mix-ins that you like best.
Healthier Alternatives to Store-Bought
Homemade Protein Powder Ice Cream is healthier than what you buy. It uses natural ingredients, so it’s lower in calories and bad fats. It’s perfect for those watching their carbs or following a keto diet.
“Making your own protein ice cream at home allows you to control the quality and nutritional profile of the ingredients, creating a healthier and more satisfying frozen treat.”
Ingredients You’ll Need
To make a tasty protein-rich ice cream, you’ll need a few key ingredients. You’ll need full-fat coconut milk, a good protein powder, and a natural sweetener. Let’s look at what you’ll need:
Choosing the Right Protein Powder
For protein powder in ice cream, choose one that mixes well and makes it creamy. Brown rice, casein, or pea protein powders are great. Whey protein can make it icy, so avoid it.
Other Essential Ingredients
- Full-fat coconut milk: This rich and creamy base gives a luxurious feel and healthy fats.
- Natural sweeteners: Allulose or dates sweeten your ice cream without added sugars.
- Vanilla extract: A bit of vanilla enhances the flavor and goes well with the protein powder.
- Cocoa powder (optional): For a rich chocolate flavor, add a tablespoon or two of unsweetened cocoa powder.
- Fruit or nut butter (optional): Try adding mix-ins like fresh or frozen berries, bananas, or creamy nut butter.
With these ingredients, you’re ready to make a protein-rich ice cream that’s both tasty and healthy.

“The best protein powders for ice cream are brown rice, casein, or pea protein. Avoid whey protein as it can result in an icy texture.”
Equipment Required
Making tasty protein-packed ice cream at home needs a few key tools. You don’t always need an ice cream maker. Whether you use one or go for a no-churn method, having the right tools is crucial.
Blender or Food Processor
You’ll start with a good blender or food processor. This tool blends protein powder, milk, and other ingredients into a smooth base. Choose a powerful one that can handle thick, frozen mixtures well.
Ice Cream Maker vs. No Ice Cream Maker
- An ice cream maker like the Ninja Creami can make a big difference. It churns and freezes your mix effortlessly, giving you a creamy texture.
- But, if you don’t have an ice cream maker, no worries. You can still make no-churn ice cream at home. Just use a loaf pan and a freezer. Make sure to pre-freeze your containers for even freezing and a better texture.
Choosing either method, your goal is to make a frozen treat that’s both healthy and delicious. With the right equipment and some know-how, you’ll make homemade protein-rich ice cream that’s perfect.
Step-by-Step Guide to Making Ice Cream
Making delicious protein ice cream at home is simple. Just follow these easy steps to create creamy, nutritious ice cream in your kitchen.
Preparing the Base Mixture
Begin by blending chilled coconut milk or your favorite milk alternative until it’s smooth. Add your protein powder and a bit of sweetener, like a calorie-free syrup or stevia. Blend again until everything is well mixed and creamy.
Chilling the Mixture
Put the protein-rich base in a freezer-safe container. Place it in the freezer. Stir every 20 minutes for the first hour to stop ice crystals from forming. Chill for at least 1 hour, or until it’s partially frozen.
Churning Process
- If you have an ice cream maker, put the partially frozen mix in the machine. Churn for 20-30 minutes until it’s the right consistency.
- For a Ninja Creami, freeze the mix overnight. Then, process it as the manufacturer says, usually on the “Lite Ice Cream” setting.
- If you don’t have an ice cream maker, blend the mix in a high-powered blender or food processor until it’s smooth.
The secret to perfect protein ice cream is blending well and chilling it right. With patience and the right steps, you’ll enjoy a tasty, protein-rich treat soon.
Flavor Variations to Try
Try new flavors to make your protein ice cream even better. You can mix classic tastes with fruity ones. This way, you can make your own protein-packed treats just how you like them.
Classic Chocolate and Vanilla
Chocolate or vanilla protein ice cream is always a hit. Add unsweetened cocoa powder for a chocolatey treat. Or, use vanilla protein powder for a classic taste. These flavors go great with mix-ins like cookies or nuts.
Fruity Options like Strawberry and Banana
Bring out the fresh taste of your favorite fruits in your ice cream. Mix in strawberries for a strawberry cheesecake flavor. Or, use ripe bananas for a creamy, tropical taste. These fruits add natural sweetness to your protein ice cream.
Don’t be afraid to try new things with your protein ice cream. Mix different protein powders, fruits, and mix-ins to find your favorite. Let your creativity shine and make a flavor that’s both delicious and supports your fitness goals.
Tips for Perfect Texture
Making creamy protein ice cream at home requires the right texture. Focus on freezing time and add special ingredients for creaminess. This will make your ice cream smooth and luscious.
Importance of Freezing Time
Freezing the ice cream base for 4-6 hours is crucial. Stir it a few times, especially in the first hour. This prevents ice crystals and ensures a creamy texture.
Adding Ingredients for Crunch
Adding ingredients for crunch is a great idea. Try chopped nuts, cookie pieces, or chocolate chips after freezing. They add texture and flavor to your ice cream.
Follow these tips to improve your protein ice cream’s texture. You’ll get a delicious and satisfying treat.
Common Mistakes to Avoid
When making protein-packed ice cream at home, it’s key to know some common mistakes. These can turn a tasty treat into an icy, grainy mess.
Overloading with Sweeteners
One big mistake is adding too much sweetener. A little sugar is good, but too much can make the ice cream icy and gritty. Try to balance your sweeteners well to keep your ice cream smooth.
Not Blending Long Enough
Blending well is vital for a smooth ice cream. If you don’t blend enough, you might get gritty bits. Make sure to blend everything well before freezing.
- Avoid using light or low-fat coconut milk, as it can result in an icy texture.
- Ensure the protein powder is completely dissolved to prevent any grittiness.
- Don’t overfill the container, as it can affect the freezing process and texture.
- Be patient during the freezing time to allow for the best possible consistency.
Remember these tips to avoid common mistakes. With the right approach to protein ice cream troubleshooting and ice cream making tips, you’ll make perfect protein-packed ice cream every time.
Storing Your Protein Powder Ice Cream
Keeping your homemade protein ice cream fresh and creamy is key. To enjoy it fully, follow these storage tips:
Best Containers for Storage
Use airtight, freezer-safe containers for your protein powder ice cream. Glass or BPA-free plastic containers are great. They keep the ice cream from getting freezer odors and prevent freezer burn. Don’t use containers with metal lids, as they can make the ice cream taste bad over time.
How Long it Lasts in the Freezer
- Your homemade protein ice cream can last up to 5 days in the freezer if stored right.
- For the best taste and texture, let it soften at room temperature for 10-15 minutes before eating.
- Don’t thaw and refreeze the ice cream often. It can form bad ice crystals.
By using these freezer storage tips, your protein ice cream will stay fresh and creamy. Enjoy the ease of storing homemade ice cream for days.

Enjoying Your Protein Powder Ice Cream
Once you’ve made this tasty protein ice cream, it’s time to enjoy it. You can serve it in bowls or waffle cones, whichever you like. For a softer texture, let it thaw for 10-15 minutes before eating.
Serving Suggestions
Get creative with your protein ice cream. Add fresh fruit, chopped nuts, or sugar-free chocolate chips on top. You can also mix in Greek yogurt and crunchy granola for a protein-packed sundae.
Pairing with Toppings and Add-Ons
For an extra treat, pair your ice cream with a warm brownie or cookie. This mix of cool ice cream and warm baked goods is amazing. Try different flavors to find your favorite combination.

