
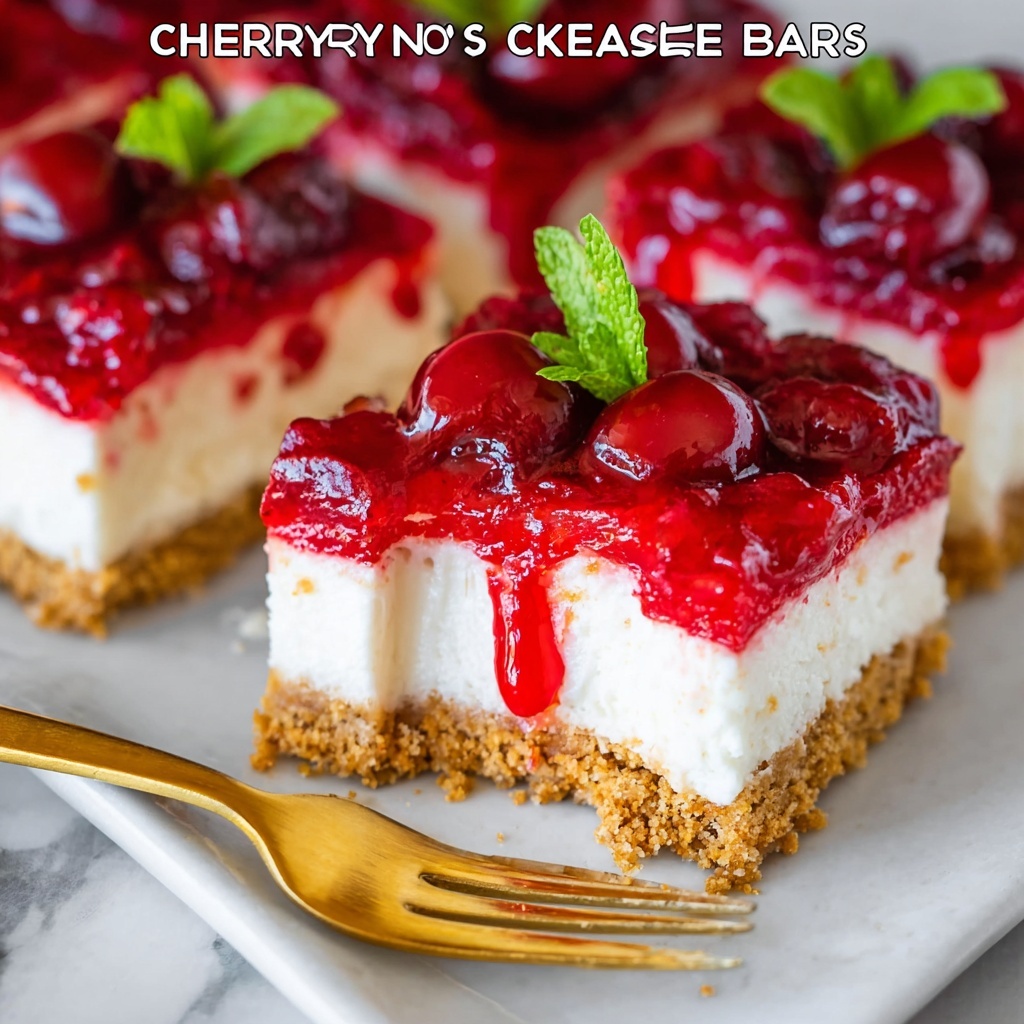
If you love a dessert that’s both indulgent and effortless, you’re going to adore this No-Bake Cherry Cheesecake Bars Recipe. Imagine creamy, dreamy cheesecake layered on a buttery graham cracker crust and topped with vibrant, juicy cherry pie filling—all without ever turning on your oven. It’s the perfect treat for summer gatherings, last-minute guests, or any time you want to satisfy a sweet tooth with something refreshingly simple yet decadently delicious.
Ingredients You’ll Need
These ingredients are delightfully straightforward but combine to create an amazing balance of flavor and texture. Each element plays a vital role: the graham cracker crumbs form a crunchy, buttery base; the cream cheese and Cool Whip add luscious creaminess; and the cherry pie filling provides a burst of fruity sweetness that ties everything together beautifully.
- ½ cup butter (melted): Adds rich, buttery flavor to bind the crust perfectly.
- ¼ cup sugar: Sweetens and balances the crust mixture.
- 1¾ cups graham cracker crumbs: Gives that classic, crunchy foundation essential for cheesecake bars.
- 2 (8-oz) packages cream cheese (softened): Provides the creamy, tangy base that makes cheesecake so irresistible.
- 1 cup powdered sugar: Sweetens the cheesecake filling smoothly, without grittiness.
- ½ tsp almond extract: A subtle flavor enhancer that adds warmth and complexity.
- 1 (8-oz) container Cool Whip (thawed): Lightens and whips the filling to airy perfection.
- 1 (21-oz) can cherry pie filling: Offers that iconic cherry topping bursting with juicy color and flavor.
How to Make No-Bake Cherry Cheesecake Bars Recipe
Step 1: Prepare the Crust
Start by combining the melted butter, sugar, and graham cracker crumbs in a bowl. Mix everything together until well combined—this mixture will form the crunchy, buttery base of your cheesecake bars. Press it firmly into the bottom of a lightly greased 9-inch square baking pan. This step sets the delicious foundation that supports all those creamy layers to come.
Step 2: Create the Cheesecake Filling
Now, it’s time for the creamy star of the show. In a large bowl, beat the softened cream cheese and powdered sugar using an electric mixer on medium speed until you get a perfectly smooth texture without lumps. Next, stir in the almond extract for a hint of warmth and depth. Finally, gently fold in the thawed Cool Whip to lighten the mixture and give you that melt-in-your-mouth cheesecake feel.
Step 3: Assemble and Chill
Spread the velvety cheesecake mixture evenly over the graham cracker crust. Cover the pan and place it in the refrigerator—several hours or even overnight is best. This chilling time lets everything firm up nicely, locking in the perfect texture for cutting neat bars later.
Step 4: Add the Cherry Topping
Once your cheesecake layer has set, carefully spoon the cherry pie filling over the top. Spread it out gently and evenly to avoid mixing the layers. Return the pan to the refrigerator to chill further until the topping is cool and set. Then, it’s time to slice your bars into squares and imagine the first bite!
How to Serve No-Bake Cherry Cheesecake Bars Recipe
Garnishes
For a charming finishing touch, sprinkle some crushed graham crackers or slivered almonds over the top to add a little extra crunch and visual appeal. If you’re feeling fancy, a few fresh cherries or a light dusting of powdered sugar make the bars even more inviting.
Side Dishes
These bars pair wonderfully with a scoop of vanilla ice cream or a dollop of freshly whipped cream for those who want to take dessert indulgence up a notch. A cup of hot coffee or a fruity iced tea complements the cherry’s sweetness and balances the richness beautifully.
Creative Ways to Present
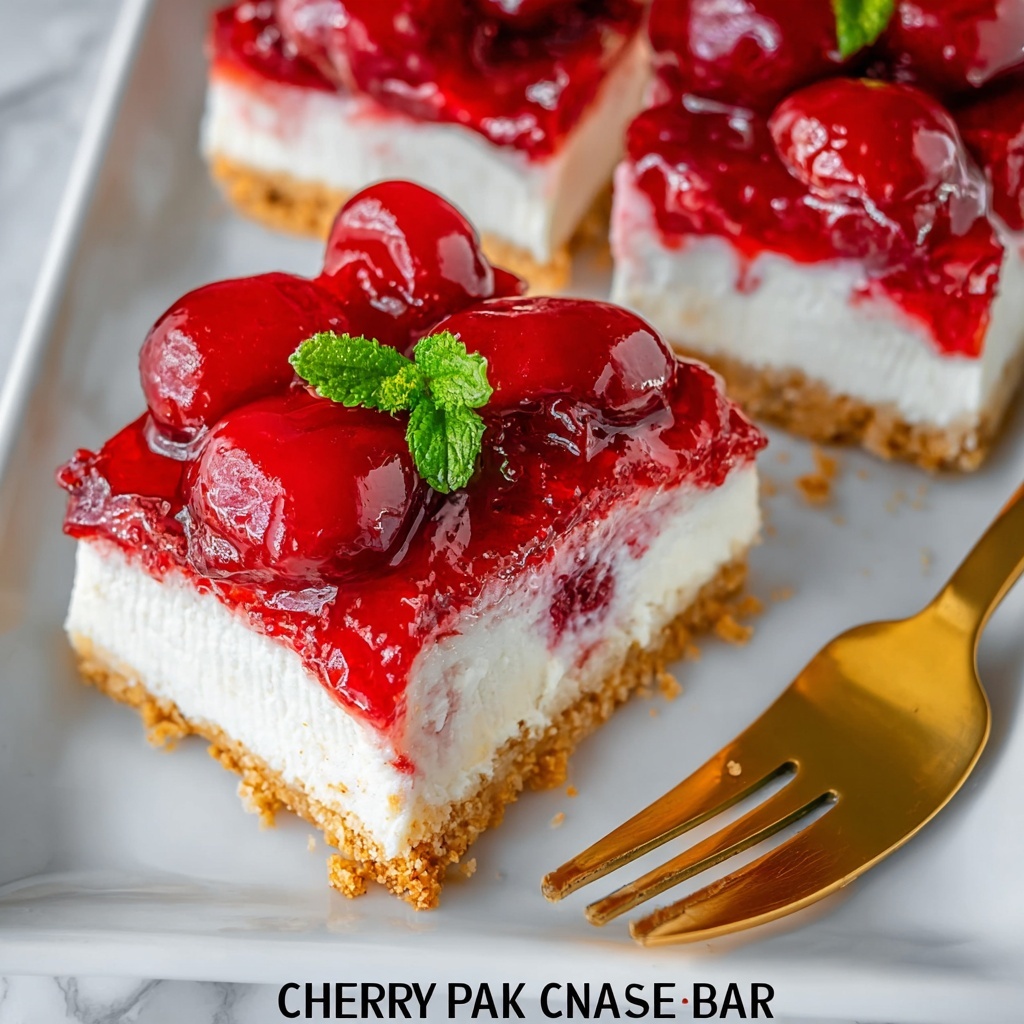
Want to impress guests? Serve your No-Bake Cherry Cheesecake Bars Recipe on a pretty platter lined with fresh mint leaves or edible flowers. For parties, cut them into bite-sized squares, place them on decorative toothpicks, and arrange on a tiered stand to make them easy to grab and enjoy.
Make Ahead and Storage
Storing Leftovers
Once prepared, store any leftover cheesecake bars in an airtight container in the refrigerator. They’ll stay fresh and delicious for up to 4 days, making them an excellent make-ahead option for busy weeks or planned get-togethers.
Freezing
If you want to keep them longer, you can freeze the bars. Wrap each bar individually in plastic wrap and place them in a freezer-safe container. They can be frozen for up to 2 months. When ready to enjoy, thaw overnight in the refrigerator to maintain their creamy texture.
Reheating
Since this is a chilled dessert, reheating isn’t necessary and not recommended, as it’ll affect the texture. Enjoy these bars straight from the fridge for the best experience—cold, creamy, and refreshing every time.
FAQs
Can I use fresh cherries instead of canned cherry pie filling?
Absolutely! Fresh cherries can be simmered with a bit of sugar and cornstarch to create your own cherry topping. It adds a wonderful homemade touch, but the canned filling is super convenient and delicious as well.
Is there a way to make these bars gluten-free?
Yes, simply swap the graham cracker crumbs for a gluten-free alternative or crushed gluten-free cookies. The rest of the recipe remains the same, and you’ll still get that classic cheesecake bar flavor.
Can I substitute Cool Whip with homemade whipped cream?
You sure can! Whipped cream works great and provides a fresh texture. Just make sure it’s whipped to soft peaks and gently folded into the cream cheese mixture for that same light consistency.
How long should I chill the cheesecake before adding the cherry topping?
Chill the cheesecake layer for at least 3–4 hours, or preferably overnight. This helps it firm up so the cherry topping spreads easily without mixing into the cheesecake filling.
Can I make these bars ahead of time for a party?
Definitely! Making the No-Bake Cherry Cheesecake Bars Recipe a day ahead is perfect—they taste even better after the flavors have melded. Just finish with the cherry topping and chill until serving.
Final Thoughts
There’s something so joyful about no-fuss desserts that taste like you spent hours crafting them. This No-Bake Cherry Cheesecake Bars Recipe fits that bill perfectly—so creamy, tangy, and bursting with cherry goodness. Whether it’s a potluck, family dinner, or just a sweet treat for yourself, I can’t recommend making these enough. Give them a try and watch them disappear faster than you can say cherry cheesecake!
Print
No-Bake Cherry Cheesecake Bars Recipe
- Prep Time: 15 minutes
- Cook Time: 0 minutes
- Total Time: 15 minutes plus refrigeration time (several hours to overnight)
- Yield: 16 servings
- Category: Dessert
- Method: No-Cook
- Cuisine: American
Description
Delight in these easy No-Bake Cherry Cheesecake Bars that combine a buttery graham cracker crust with a smooth cream cheese filling and a luscious cherry topping. Perfect for warm days or when you want a quick, delicious dessert without turning on the oven.
Ingredients
Crust
- ½ cup butter (melted)
- ¼ cup sugar
- 1¾ cups graham cracker crumbs
Filling
- 2 (8-oz) packages cream cheese, softened
- 1 cup powdered sugar
- ½ tsp almond extract
- 1 (8-oz) container Cool Whip, thawed
Topping
- 1 (21-oz) can cherry pie filling
Instructions
- Prepare the crust: Combine the melted butter, sugar, and graham cracker crumbs in a mixing bowl. Stir until evenly mixed and the crumbs are coated with butter. Press the mixture firmly into the bottom of a lightly greased 9-inch square baking pan to create an even crust layer.
- Make the filling: In a large bowl, beat the softened cream cheese and powdered sugar together using an electric mixer on medium speed until the mixture is smooth and creamy. Add the almond extract and mix well. Gently fold in the thawed Cool Whip until fully incorporated and the filling is light and fluffy.
- Assemble and chill: Spread the cream cheese mixture evenly over the prepared graham cracker crust. Cover the pan and refrigerate for several hours, preferably overnight, allowing the filling to set firmly.
- Add cherry topping and serve: Once the filling is chilled and set, carefully spoon the cherry pie filling over the top, spreading it to cover the surface evenly. Return the bars to the refrigerator to chill until ready to serve. Cut into squares before serving.
Notes
- For best results, refrigerate overnight to allow the bars to set completely.
- You can substitute cherry pie filling with other fruit pie fillings like blueberry or strawberry for variety.
- Ensure cream cheese is softened to room temperature for smooth mixing without lumps.
- Use a spatula to spread fillings gently to keep layers neat.
- Store bars in an airtight container in the refrigerator and consume within 3 days for optimal freshness.

