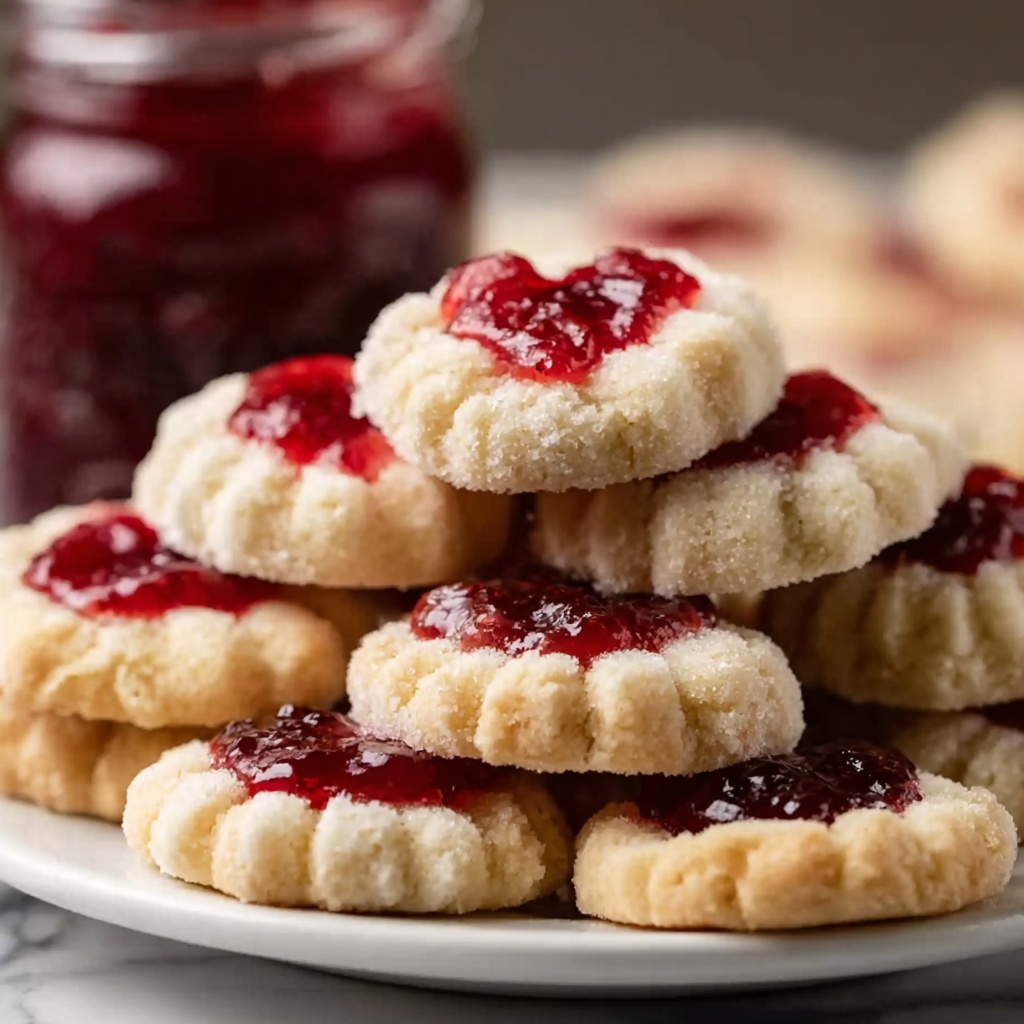
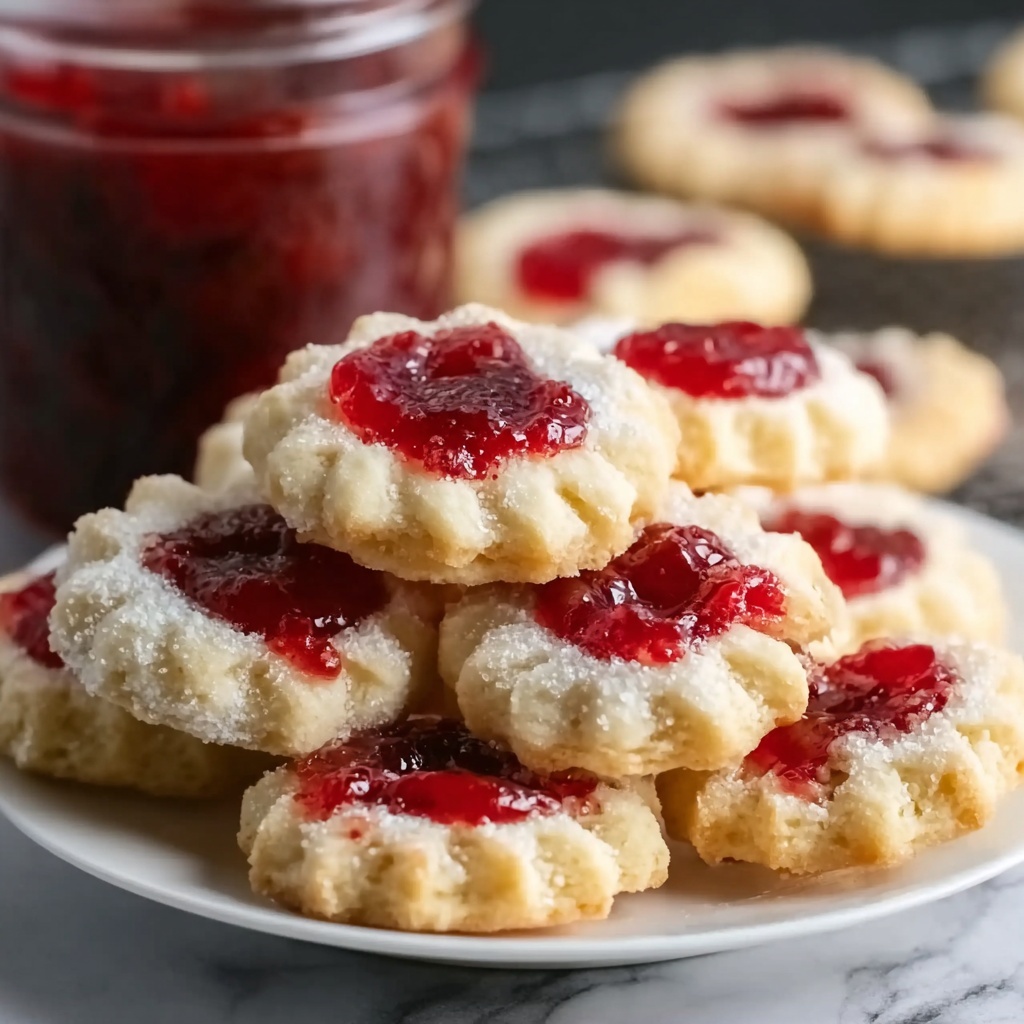
Nothing says cozy and delicious quite like a classic cookie with a fruity surprise, and these Raspberry Thumbprint Cookies are exactly that. The Raspberry Thumbprint Cookies Recipe is a charming blend of buttery, melt-in-your-mouth dough perfectly complemented by a sweet and tangy dollop of raspberry jam right in the center. They’re the ultimate treat when you want to impress without the fuss. Each bite delivers warmth and comfort, making them an absolute favorite to bake for friends, family, or just because you deserve a little sweetness in your day.
Ingredients You’ll Need
To whip up these delightful cookies, you’ll rely on a handful of simple ingredients that come together harmoniously in both flavor and texture. Each element plays its unique role, from the rich butter that guarantees tenderness to the bright raspberry jam that adds just the right pop of fruity goodness.
- Unsalted butter, 1 cup: Softened butter provides the perfect creamy base for a tender, melt-in-your-mouth cookie texture.
- Granulated sugar, 1/2 cup: Adds sweetness and helps achieve that beautiful golden crust when baked.
- Large egg, 1: Binds the ingredients together while lending moisture for a soft bite.
- Vanilla extract, 1 teaspoon: Enhances the overall flavor with a warm, inviting aroma.
- All-purpose flour, 2 cups: Provides structure, ensuring the dough holds its thumbprint shape without spreading too much.
- Salt, 1/4 teaspoon: Balances sweetness and brings out the flavors perfectly.
- Raspberry jam, 1/2 cup: The star of the show, offering a vibrant, tangy burst in every cookie center.
- Optional powdered sugar: Sprinkled on top, it adds a lovely festive touch and slight extra sweetness.
How to Make Raspberry Thumbprint Cookies Recipe
Step 1: Prepare Your Oven and Baking Sheet
Begin by preheating your oven to 350°F (175°C). This ensures it is nicely heated so the cookies bake evenly. Line a baking sheet with parchment paper to prevent sticking and make cleanup a breeze.
Step 2: Cream Butter and Sugar
In a large bowl, beat the softened butter and granulated sugar together until the mixture becomes light and fluffy. This step is crucial because it incorporates air, giving your cookies that delightful tender crumb.
Step 3: Add Egg and Vanilla
Mix in the large egg and vanilla extract until fully combined and smooth. The egg adds moisture and helps bind everything, while vanilla adds a lovely depth of flavor.
Step 4: Combine Dry Ingredients
Gradually add the all-purpose flour and salt into the wet mixture. Stir carefully just until the dough comes together. Overmixing can make the cookies tough, so gentle blending is key!
Step 5: Shape the Dough
Roll the dough into 1-inch balls and position them on your prepared baking sheet, leaving about 2 inches between each. This spacing gives the cookies room to spread slightly while baking.
Step 6: Create the Thumbprints
Use your thumb or the back of a spoon to gently press an indentation into the center of each dough ball. These little wells will cradle the delicious jam and become the signature look of the Raspberry Thumbprint Cookies Recipe.
Step 7: Add the Raspberry Jam
Spoon about one teaspoon of raspberry jam into each indentation. Be careful not to overfill to avoid the jam spilling over during baking.
Step 8: Bake to Perfection
Bake the cookies for 12-15 minutes or until the edges start to turn a light golden color and the jam is bubbling enticingly. You’ll know they’re ready when your kitchen fills with the irresistible aroma!
Step 9: Cool Before Enjoying
Let the cookies cool on the baking sheet for a few minutes, then transfer them to a wire rack to cool completely. This step helps the cookies set and prevents the jam from sliding off.
Step 10: Optional Finishing Touch
If you want to add extra charm, lightly dust the cooled cookies with powdered sugar. It makes for a beautiful presentation and adds a gentle sweetness.
How to Serve Raspberry Thumbprint Cookies Recipe

Garnishes
For a little extra pizzazz, consider a light dusting of powdered sugar or a tiny fresh raspberry on top of the jam before serving. It instantly elevates the cookies’ appearance and complements the raspberry flavor beautifully.
Side Dishes
These cookies make a perfect companion to a hot cup of tea or a rich, creamy coffee. They also pair wonderfully with a scoop of vanilla ice cream or a small bowl of fresh berries to keep the fruity theme going strong.
Creative Ways to Present
Serve your Raspberry Thumbprint Cookies Recipe on a rustic wooden platter or a colorful serving plate adorned with fresh mint leaves or edible flowers. For gatherings, arrange them in pretty gift boxes or cellophane bags tied with a ribbon for a thoughtful homemade gift.
Make Ahead and Storage
Storing Leftovers
After baking, store your Raspberry Thumbprint Cookies in an airtight container at room temperature. They’ll stay fresh and tasty for up to a week, making them a great option to prepare ahead for special occasions.
Freezing
You can freeze these cookies either before or after baking. Freeze the shaped dough balls on a tray first, then transfer them to a zip-top bag. Alternatively, freeze baked and cooled cookies in airtight containers with parchment layers. Both methods help you enjoy these treats any time you like.
Reheating
When ready to enjoy frozen cookies, simply bring them to room temperature or warm them briefly in a low oven (about 300°F) for 5 minutes to revive that fresh-baked softness. Avoid the microwave as it can soften the jam too much.
FAQs
Can I use other types of jam in the Raspberry Thumbprint Cookies Recipe?
Absolutely! While raspberry jam is classic, you can experiment with strawberry, apricot, or even marmalade. Each brings its own unique twist to the flavor.
How do I prevent the jam from spilling over the cookies?
Use only about one teaspoon of jam per indentation, and make sure the wells aren’t overfilled. This helps keep the jam in place during baking.
Can I make these cookies gluten-free?
Yes, substituting all-purpose flour with a gluten-free baking blend can work well. Just make sure the blend includes xanthan gum for proper texture.
Why are my cookie edges too hard or brown?
Check your oven temperature first, as it may run hot. Also, avoid overbaking by watching the cookies closely around the 12-minute mark to ensure tender results.
Is it necessary to chill the dough before baking?
In this recipe, chilling isn’t required, which makes it quick and easy to prepare. However, if your dough feels too soft, chilling for 15-20 minutes can make rolling easier.
Final Thoughts
These Raspberry Thumbprint Cookies Recipe are a genuine delight that bring warmth and sweetness to any day. They’re simple to make, irresistibly tasty, and perfect for sharing with those you love. I wholeheartedly encourage you to give this recipe a try—you might just find your new favorite cookie that’s both classic and bursting with fresh fruity charm.
Print
Raspberry Thumbprint Cookies Recipe
- Prep Time: 15 minutes
- Cook Time: 15 minutes
- Total Time: 30 minutes
- Yield: 24 cookies
- Category: Dessert
- Method: Baking
- Cuisine: American
Description
Delight in these classic Raspberry Thumbprint Cookies, featuring a buttery, tender dough with a sweet and tangy raspberry jam center. Perfect for any occasion, these cookies are easy to make and bake to golden perfection, topped optionally with a dusting of powdered sugar for a festive touch.
Ingredients
Cookie Dough
- 1 cup unsalted butter, softened
- 1/2 cup granulated sugar
- 1 large egg
- 1 teaspoon vanilla extract
- 2 cups all-purpose flour
- 1/4 teaspoon salt
Filling
- 1/2 cup raspberry jam (or your favorite fruit jam)
Optional
- Powdered sugar for dusting
Instructions
- Preheat Oven: Preheat your oven to 350°F (175°C) and line a baking sheet with parchment paper to prevent sticking and ensure easy cleanup.
- Cream Butter and Sugar: In a large bowl, cream together the softened butter and granulated sugar until the mixture is light and fluffy. This step ensures your cookies have a tender texture.
- Add Egg and Vanilla: Mix in the egg and vanilla extract until the dough becomes smooth and well combined, adding moisture and flavor.
- Combine Dry Ingredients: Gradually add the all-purpose flour and salt, mixing just until the dough comes together. Avoid overmixing to keep cookies tender.
- Form Dough Balls: Roll the dough into 1-inch diameter balls and arrange them on the prepared baking sheet, spacing them about 2 inches apart to allow for spreading.
- Create Indentations: Use your thumb or the back of a spoon to press an indentation into the center of each dough ball to hold the jam.
- Fill with Jam: Spoon approximately 1 teaspoon of raspberry jam into each indentation carefully to avoid overflow during baking.
- Bake the Cookies: Place the baking sheet in the preheated oven and bake for 12-15 minutes, or until the edges turn lightly golden and the jam is bubbly.
- Cool: Let the cookies cool on the baking sheet for a few minutes before transferring them to a wire rack to cool completely, preventing breakage.
- Optional Decoration: Once cooled, dust cookies with powdered sugar for an extra festive and sweet finish.
Notes
- Use room temperature butter for easier creaming and better texture.
- You may substitute raspberry jam with any fruit jam of your choice.
- Ensure not to overfill the jam to prevent it from spilling during baking.
- Cookies can be stored in an airtight container at room temperature for up to 5 days.
- For a dairy-free version, substitute butter with a vegan butter alternative.


